


Customized Shirts and Self-Rewarding

As an artist, I sometimes forget that I am fully capable of making something just for me, something that doesn’t have to be for sale or created for someone else’s enjoyment. In this season where our collective focus is usually centered on gifts, it’s important to take the time to acknowledge ourselves too!
I’ve always found odd little ways to reward myself. As a kid, I got through my math homework by rationing out my portion of raisins or candy so that I could eat something yummy every 5 problems I solved. (I’m still a bit amazed at my self control at age 8, haha!) Years later, when I was going through a series of stressful and invasive medical tests at the Mayo Clinic, I treated myself to a bath bomb bubble bath for each test completed. And when I finally realized I was queer at the age of 28, I took some time off of my normal artwork to create a bunch of wild statement earrings to celebrate discovering such a huge part of myself that had been pushed away for so long!
It may seem odd to reward yourself like that, but there’s a lot more to it than materiality. It is an acknowledgement of a challenging or exciting or intense period of life! Us adults tend to glaze over our achievements or struggles far too easily, while we happily celebrate the little milestones of the little people in our lives. Growing up doesn’t mean you have to stop acknowledging yourself. Your life experience is beautiful, complex, and valid too.
Sometimes it’s a candlelit bath after a long day taking care of others. Other times it’s an exotic vacation. This time, it’s the self-gift of personal expression.
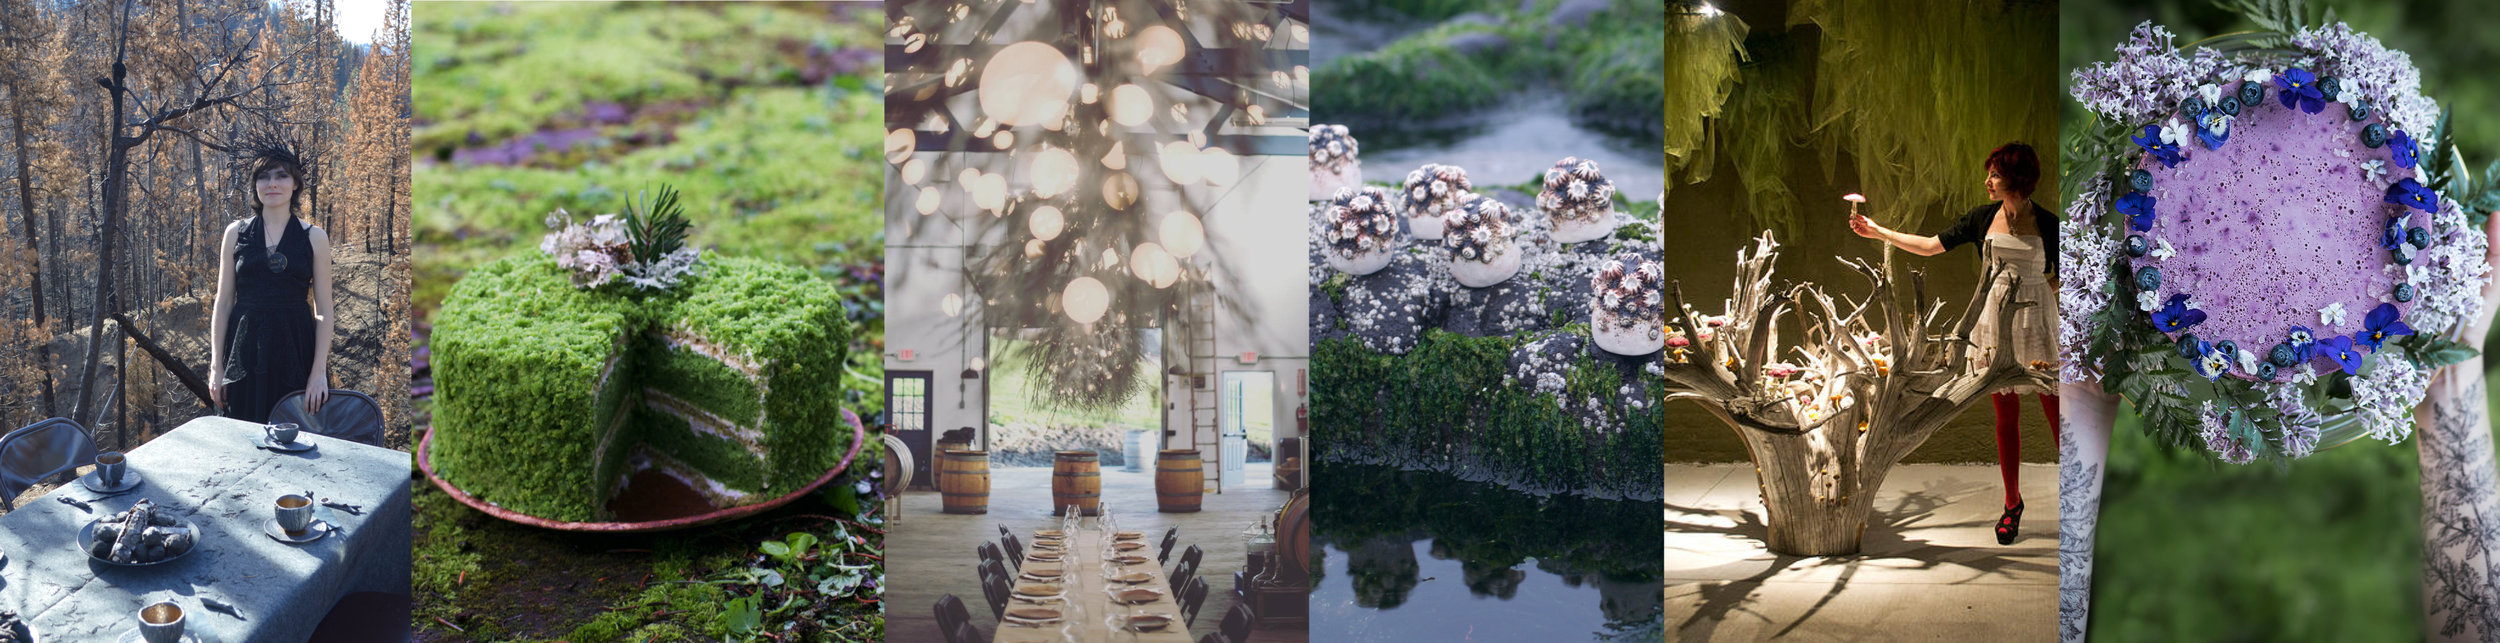
Customizing your clothing can be a relatively simple and very fun way to celebrate yourself and engage in playful creativity. A cute shirt can turn into a conversation starter with the addition of a cluster of painted mushrooms on the collar. Plain canvas shoes can house an entire fairytale. Classic blue jeans can become edgy or feminine or whimsical, whatever you want them to be! All it takes is some acrylic paint, a bottle of textile medium, some brushes, and a garment ready to be transformed.
Of course, customized clothing can also make a wonderful gift. It’s also a fun activity to do with a group of family or friends; invite everyone to bring their pre-washed garment and let everyone work together!

Select And Wash Your Garment:
For this project, you’ll want to pick an article of clothing that doesn’t have too much stretch, as that can crack the paint. You’ll also need to pick something that doesn’t have an overpowering texture or print and that can be ironed safely since the textile medium is heat set. I got the shirts in these photos here, but I would highly recommend looking for secondhand clothes that could use a little love instead! (I bet there’s already something in your closet just waiting to be given new life.) If your garment is new, wash it first with mild detergent to get out any sizing. Then, rinse in a solution of ½ c. white vinegar to 3 gallons water in your sink or washing machine to get rid of any soapy residue that might prevent the paint from sticking well. Rinse thoroughly and dry.
Prepare Workspace and Supplies:
Make sure you have a workspace that can get a bit messy. I like working on recycled paper bags or a wipeable oilcloth tablecloth. It’s also good to have some pieces of cardboard or cardstock around to protect other parts of your clothing from paint while you work on them. I’d recommend wearing old clothes just in case, since it can be tough to remove paint from clothes if you get any on you by accident. To paint, you’ll need something to mix paint on (you can use a palette; I often just use the glossy side of recycled cardboard), a jar of water to rinse your brushes in, a selection of colors of acrylic paint, a selection of brushes, and some kind of textile medium. This is what allows your paint to become permanent on clothing! There are lots of kinds available; I prefer the Golden brand.
Painting your Clothing:
You’re ready to go! Before you begin painting, I would recommend making some sketches of what you plan to paint. Then you can use a washable pencil or pen to lightly outline your design. You can also use stencils or stamps to guide you. Then, decide what area of your garment you’ll paint and use some cardstock or cardboard to protect the rest from any paint that might bleed through. To paint the collars on my shirts, I just tucked a little cardstock between them and the rest of the shirt. If you’re painting a t-shirt, you’ll want some cardboard inside it so only one layer of fabric is on top of the cardboard. If you’re painting a back pocket on some jeans, stick some cardboard inside the pocket. (You get the idea, right?)
Squirt out a little dab of acrylic paint onto your palette, then mix the textile medium with the paint according to the manufacturer’s directions (it’s usually a 1:1 ratio.) If you’ll be using several colors, mix the textile medium into each color individually, then blend the paint together as desired to get different shades and tints. You’re ready to start painting! Textile medium usually thins the paint a little so it can soak into the garment and bond with the fibers, so you’ll need to build up layers of paint until you reach the desired opacity, letting each layer dry in-between coats. (Luckily acrylic paint dries quickly.) Mixing a little white paint into your first coat will help build up the opacity if you are painting on a dark color. As the paint builds up, you can add more details and shading to your painting. When you’re finished, let the garment dry completely, then follow the directions on the bottle of textile medium to heat-set the paint. Your garment is now finished and ready to wear!
Reflection:
I hope you enjoyed this process, and I hope you created something just for yourself. If you didn’t this time, maybe you will next time? Remember that it’s okay to give yourself your time and creativity sometimes, too.

Note: As an Amazon Associate I earn from qualifying purchases on some linked items. All are items that I use myself and would recommend to others, and this service is provided at no extra cost to you! Read more about this program here.
Looking for a holiday gift? Take a look at this Wondersmith Gift Guide!
Love what you’ve read here? Don’t forget to Subscribe to get frequent updates of new posts!
Huge thanks to my Patrons that make sharing all of these lovely posts with you possible (without all of the pop-ups and ads that make browsing other blogs so annoying). If you’re feeling generous, you too can support the wonder with a monthly contribution of your choice. Even $1 helps a lot! Your donation will help to fund this blog as well as my surprise free events and gifts for strangers. Learn more about this program at the link below:

Join me for a little winter night magic as we bake this cake full of rich seasonal flavors and black cocoa!