
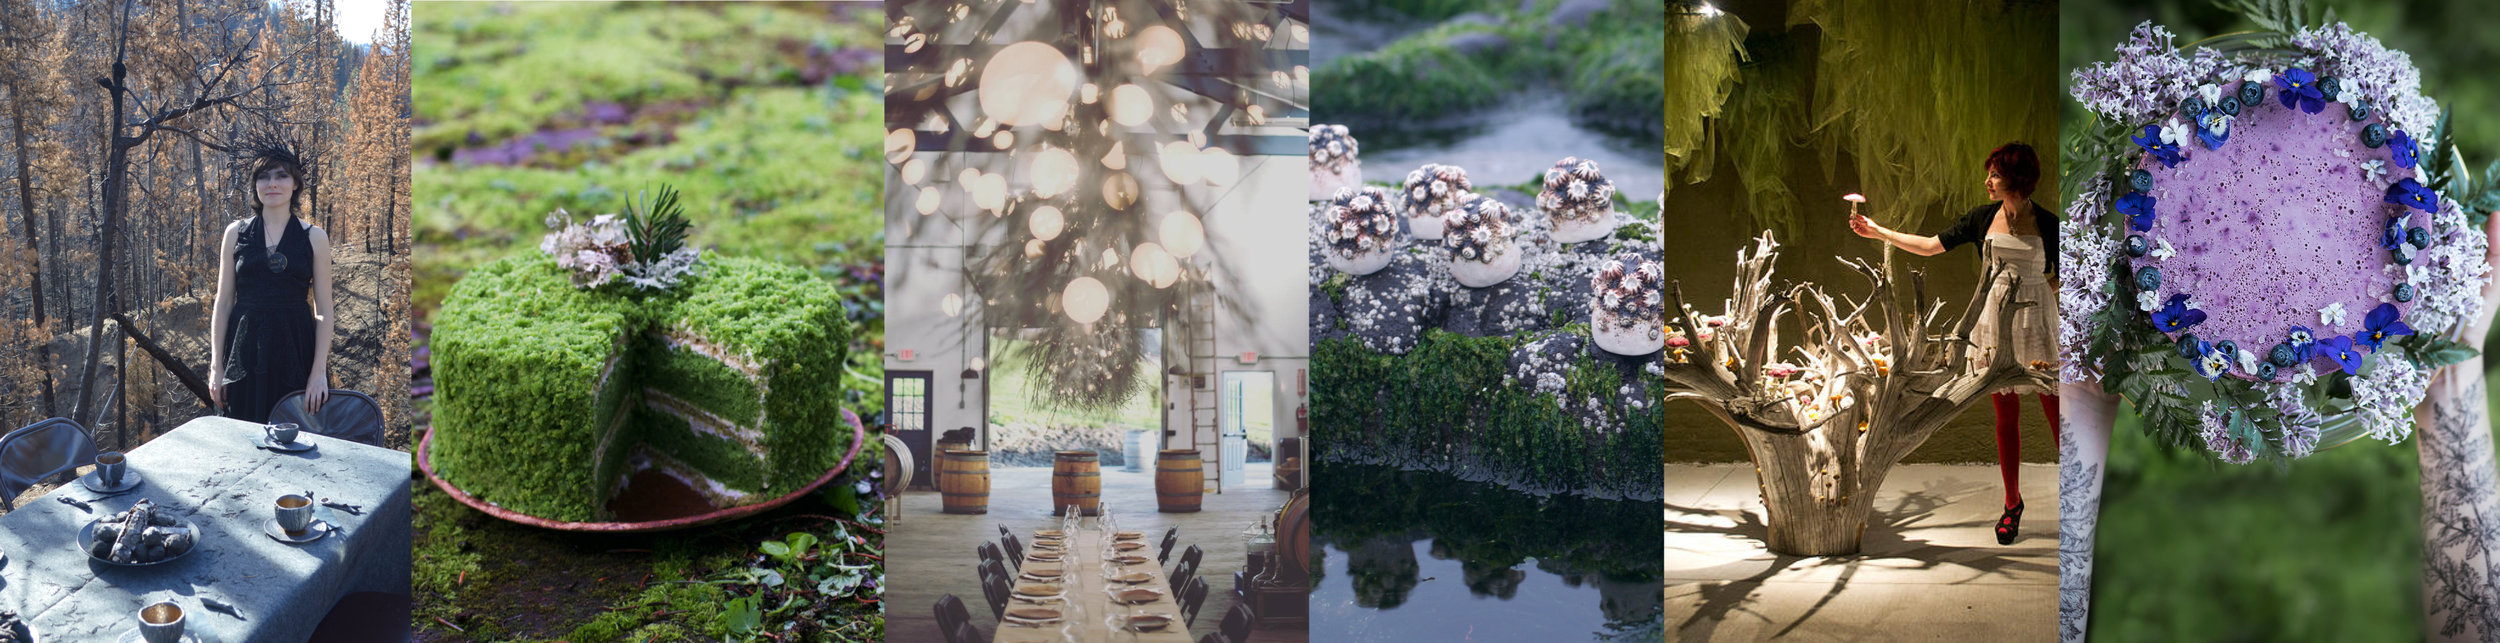


Edible Art Nouveau Cookie Lantern

Art Nouveau is my favorite historical art movement, one that faced the Industrial Revolution with a gentle but firm rebellion. In the wake of industrialized goods and sharp lines, Art Nouveau bloomed with vine-like lines, a focus on the handmade, and a deep reverence for nature and mythology. This was the theme for the latest version of Enchanted Living Magazine, where I shared this recipe along with some other writings about how Art Nouveau influences me today!

As the Art Nouveau style spread to the United States, it became defined by the work of a designer named Louis Comfort Tiffany. (In fact, here in the United States, Art Nouveau is often known as “Tiffany Style.”) Tiffany was a pioneer in the glass world as well as being a brilliant designer. He had access to his family’s glassblowing and manufacturing studio and eventually used it to develop specially-made sheet glass to give his nature-inspired designs a great depth. The glass sheets he produced were perfectly imperfect; different colors of glass were swirled together at their molten state and pressed, folded, and stamped to create various textures for him to pull from. He would select individual pieces of glass for each component of his visions. A wrinkled white sheet might make the perfect ruffled flower petal, while a green and blue swirled piece would speak of distant mountains. The giant landscapes and nature scenes he created from his altered glass seem to shimmer with depth and light.

I was lucky enough to be one of the last Artists in Residence at Uroboros Glass in Portland, Oregon before they closed. In a cozy studio inside the factory floor, I worked on my own series of work, often wandering out to view the factory workers lifting heavy ladles of very hot molten glass onto giant presses. Uroboros specialized in making Tiffany reproduction glasses for stained glass artists (in addition to their products formulated for blown and kiln-formed glass, which as what I was working with.) On a Tiffany Glass production day, slightly-smaller ladles would be pulled out and several furnaces of color heated to a molten state. Watching the workers make the glass was itself a kind of artistry. How purposefully they scooped and swirled. From a distance, it looked like the elegant dance of bees working in a hive, moving around one another with unspoken communications of the body. Up close, however, you could see the reflection of the white-hot furnaces in their protective masks, see the sweat on the back of their necks as a result of both exertion and heat.
Tiffany was known for innovation, both through his artistic vision and through his understanding of chemistry. He really knew his materials, and is credited today with discovering and fabricating many unique colors and textures of glass. I saw the same spirit in Uroboros’s founder, Eric, who approached his glass formulation with the same fastidiousness and care. Eric is a kind and creative person, someone whose values are deeply rooted in his love for nature and appreciation of his community. His factory workers were faithful, many of them having been there nearly as long as he had been. They spoke about their boss with utter respect. I was only able to be around Eric and his wife, Lorna, for the duration of my month-long residency, but even in that amount of time I could sense a gentle light radiating outwards from each of them. I like to think that I’m creating these cookies in honor of Tiffany and Eric and all of the glass artists that have come between!

Art Nouveau Cookie Lanterns
Part craft project, part culinary delight, these cookies come together to form a Nouveau-style lantern, aged with the “verdigris” colors of the patinas that mark aged metal. The flavor is loosely inspired by absinthe, a popular drink of the time (and the source of the “little green fairy” in many drawings and paintings.) Note: this recipe makes enough dough for 1 ½ lanterns. I made extra candy-filled panels so I could use my favorites to make the lantern shown. You could also make smaller stained glass cookies to accompany the lantern with the extra dough.
Ingredients:
4 ¼ c. all-purpose flour, plus more for dusting
¼ tsp. Baking soda
¼ tsp. Salt
1 Tbs. matcha tea powder
Zest of one lemon
2 large eggs
1 tsp. Anise extract
1 tsp. Vanilla extract
1 ½ c. unsalted butter, at room temp
1 ½ c. granulated sugar
Various colors of crushed hard candies.
Directions:
Sift together the flour, baking soda, salt, and matcha powder in a medium bowl.
Beat the butter and sugar in the bowl of a stand mixer on medium speed until creamy, about 2 minutes. Stop halfway through to scrape the bowl. Resume beating.
On low speed, gradually add the eggs and anise and vanilla extracts to the butter sugar mixture and beat until combined.
Add the flour mix a cup at a time until all the flour in incorporated. Beat over medium speed and beat until the dough is smooth, about 2 minutes.
Divide the pieces into 2 even balls and flatten each into 7” squares. Wrap in plastic wrap and refrigerate the dough overnight.
Line 2 baking sheets with non-stick silicone baking mats.
Pull 1 dough piece out of the fridge and let sit at room temperature for 15 minutes, then roll out on a flour-dusted surface to be ¼” thick. Use a sharp knife to cut the shapes of the cookies out (see “templates,” below) and very carefully transfer them to the baking sheets.
Preheat oven to 350F and position 2 oven racks evenly in the oven. Place the cookie sheets with their cookies in the freezer for 15 minutes.
Pull the second piece of dough from the fridge to soften while the first batch cooks. Transfer the cookies on their sheets from the freezer to the oven and bake for 15 minutes, rotating the pans halfway through.
Remove the pans from the oven and let cool slightly, then fill the stained glass window area with crushed pieces of hard candy to form your own stained glass look.
Put the cookies back in the oven for another 5-7 minutes, or until the candy has completely melted. Remove from the oven and quickly swirl the warm candy with a toothpick to create new patterns. (Work quickly, as the candy will harden fast!)
Let cookies cool completely on the pans.
Carefully remove the pieces from the silicone baking mat, being careful not to break the cookies or the windows.
Tip: you can get straight sides on your cookies by gently running them against a sharp hand-held cheese grater while they are still slightly warm. This will make everything come together more easily.
Repeat the process with the remaining dough. Let cool.
To decorate: water down some of the remaining royal icing using more absinthe or water, then tint it various shades of turquoise using matcha tea powder and blue spirulina (or gel food coloring). Using a clean sponge, gently dab the icings onto all parts of the cookies (avoiding the windows) to give the lanterns an aged verdigris look. Don’t forget the edges that will show.
Mix some black cocoa powder in with more royal icing and add water ¼ tsp. At a time until the icing is about the consistency of molasses. Transfer it to a piping bag with small tip and use it to draw the lines on the stained glass windows, as well as additional decorations on the cookie lanterns. Let everything harden.
To assemble the lantern, put ⅓ c. royal icing in a pastry bag. Meanwhile, pipe a seam of icing on the edges of the side lantern pieces and carefully attach them to the front pieces (hint: a half gallon carton makes a great support to hold everything in place!) Assemble the top square as well.
Once each individual component is hardened in place, pipe more icing around the bottom of the 4-sided lantern, then position it evenly on top of the base. Let dry. Attach the top square to the lid and let dry. Cover the seams with the darker royal icing, if desired.
Place an electric tea light or faerie lights inside your lantern and admire your handiwork!
Royal Icing Recipe:

Ingredients:
2 Tbs. meringue powder
2 ½ c. powdered sugar
2 Tbs. absinthe or whiskey
Natural colorants: matcha tea powder, blue spirulina, black cocoa powder, or gel-based food coloring.
Directions:
Combine the meringue powder and 2 c. of the powdered sugar in a mixing bowl. Add the absinthe and 1Tbs. Water and mix until smooth and thick.
The royal icing should have a consistency like caulk but be soft enough to be piped. Adjust as needed, adding more powdered sugar for a thicker icing or more water to make it looser. Cover well until ready to use.

Templates:
To make this lantern, you’ll want to measure and cut your templates ahead of time. They’re easy to make on your own, all you’ll need is some cardstock, a ruler, and some scissors. These are the shapes you’ll need:
2- 5”x 5” squares for the lid and the base
2- 3 ½ x 6” rectangles for the sides, with a window cut out (leaving ½” around the edges)
2- 4” x 6” rectangles for the front and back, with a window cut out (leaving ½” around the edges. I also curved the top and bottom of mine to be 5” wide to add a little shape and decoration to the lantern.
2- 1 ¼” x 2 ½” rectangles for the side of the top part
2- 1 ¼ x 3” rectangles for the front and back of the top part
1- 3” x 3” square for the top part’s roof
Love what you’ve read here? Don’t forget to Subscribe to get frequent updates of new posts!
Huge thanks to my Patrons that make sharing all of these lovely posts with you possible (without all of the pop-ups and ads that make browsing other blogs so annoying). If you’re feeling generous, you too can support the wonder with a monthly contribution of your choice. Even $1 helps a lot! Your donation will help to fund this blog as well as my surprise free events and gifts for strangers. Learn more about this program at the link below:

New to foraging? Learn more about ethical and safe foraging (plus how to get started) here!
Join me for a little winter night magic as we bake this cake full of rich seasonal flavors and black cocoa!