
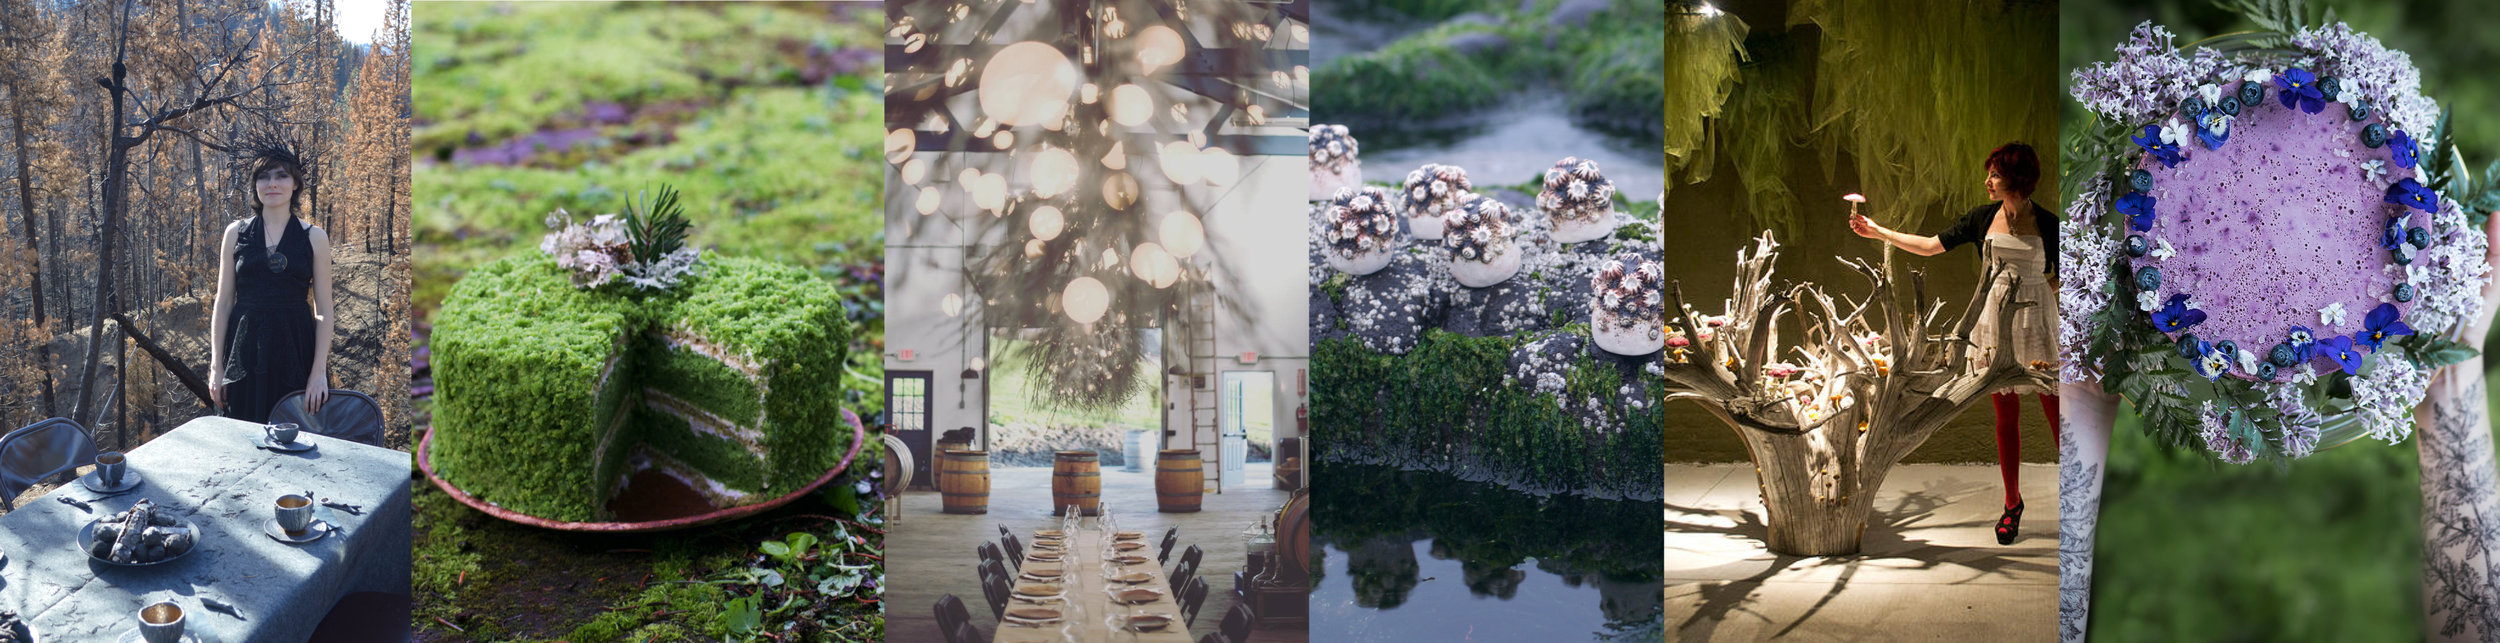


Pantry Pearls: Wild Violet Surprise Cake

The Fae are rather well known for dropping by unexpectedly. With flighty fairies or adventurous elves, you just never know when one might be knocking on your door expecting some regal hospitality. Lucky for you, I’ve got you covered.
This beautiful cake is made from things you probably already have in your pantry and/or fridge. In fact, I have specifically designed this recipe to be both flexible and easy to whip up using pantry staples. That way, you’ll always be prepared for a mermaid tea party or a fairy soiree!
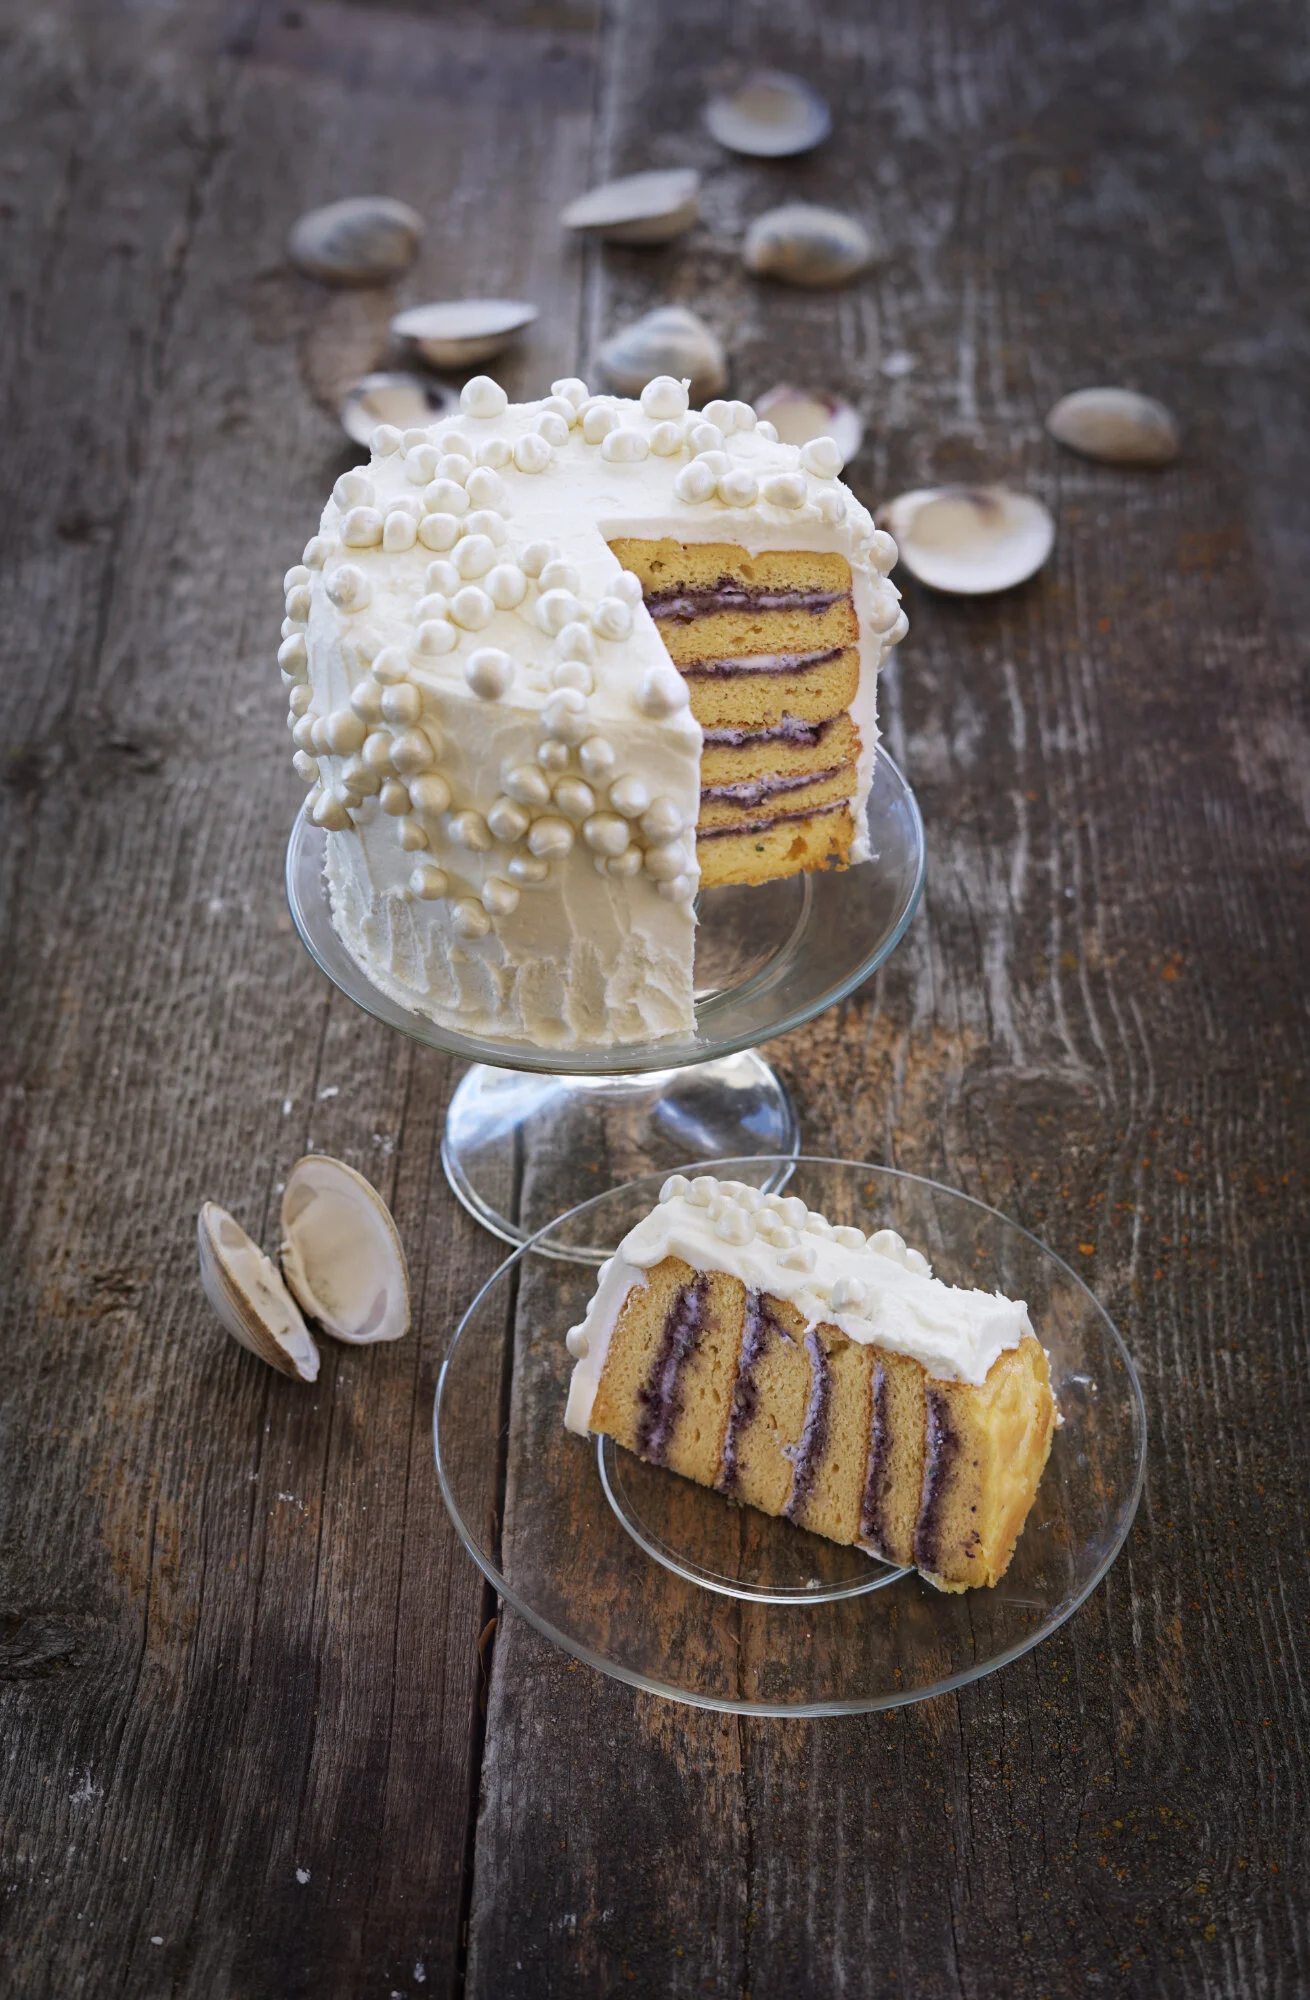
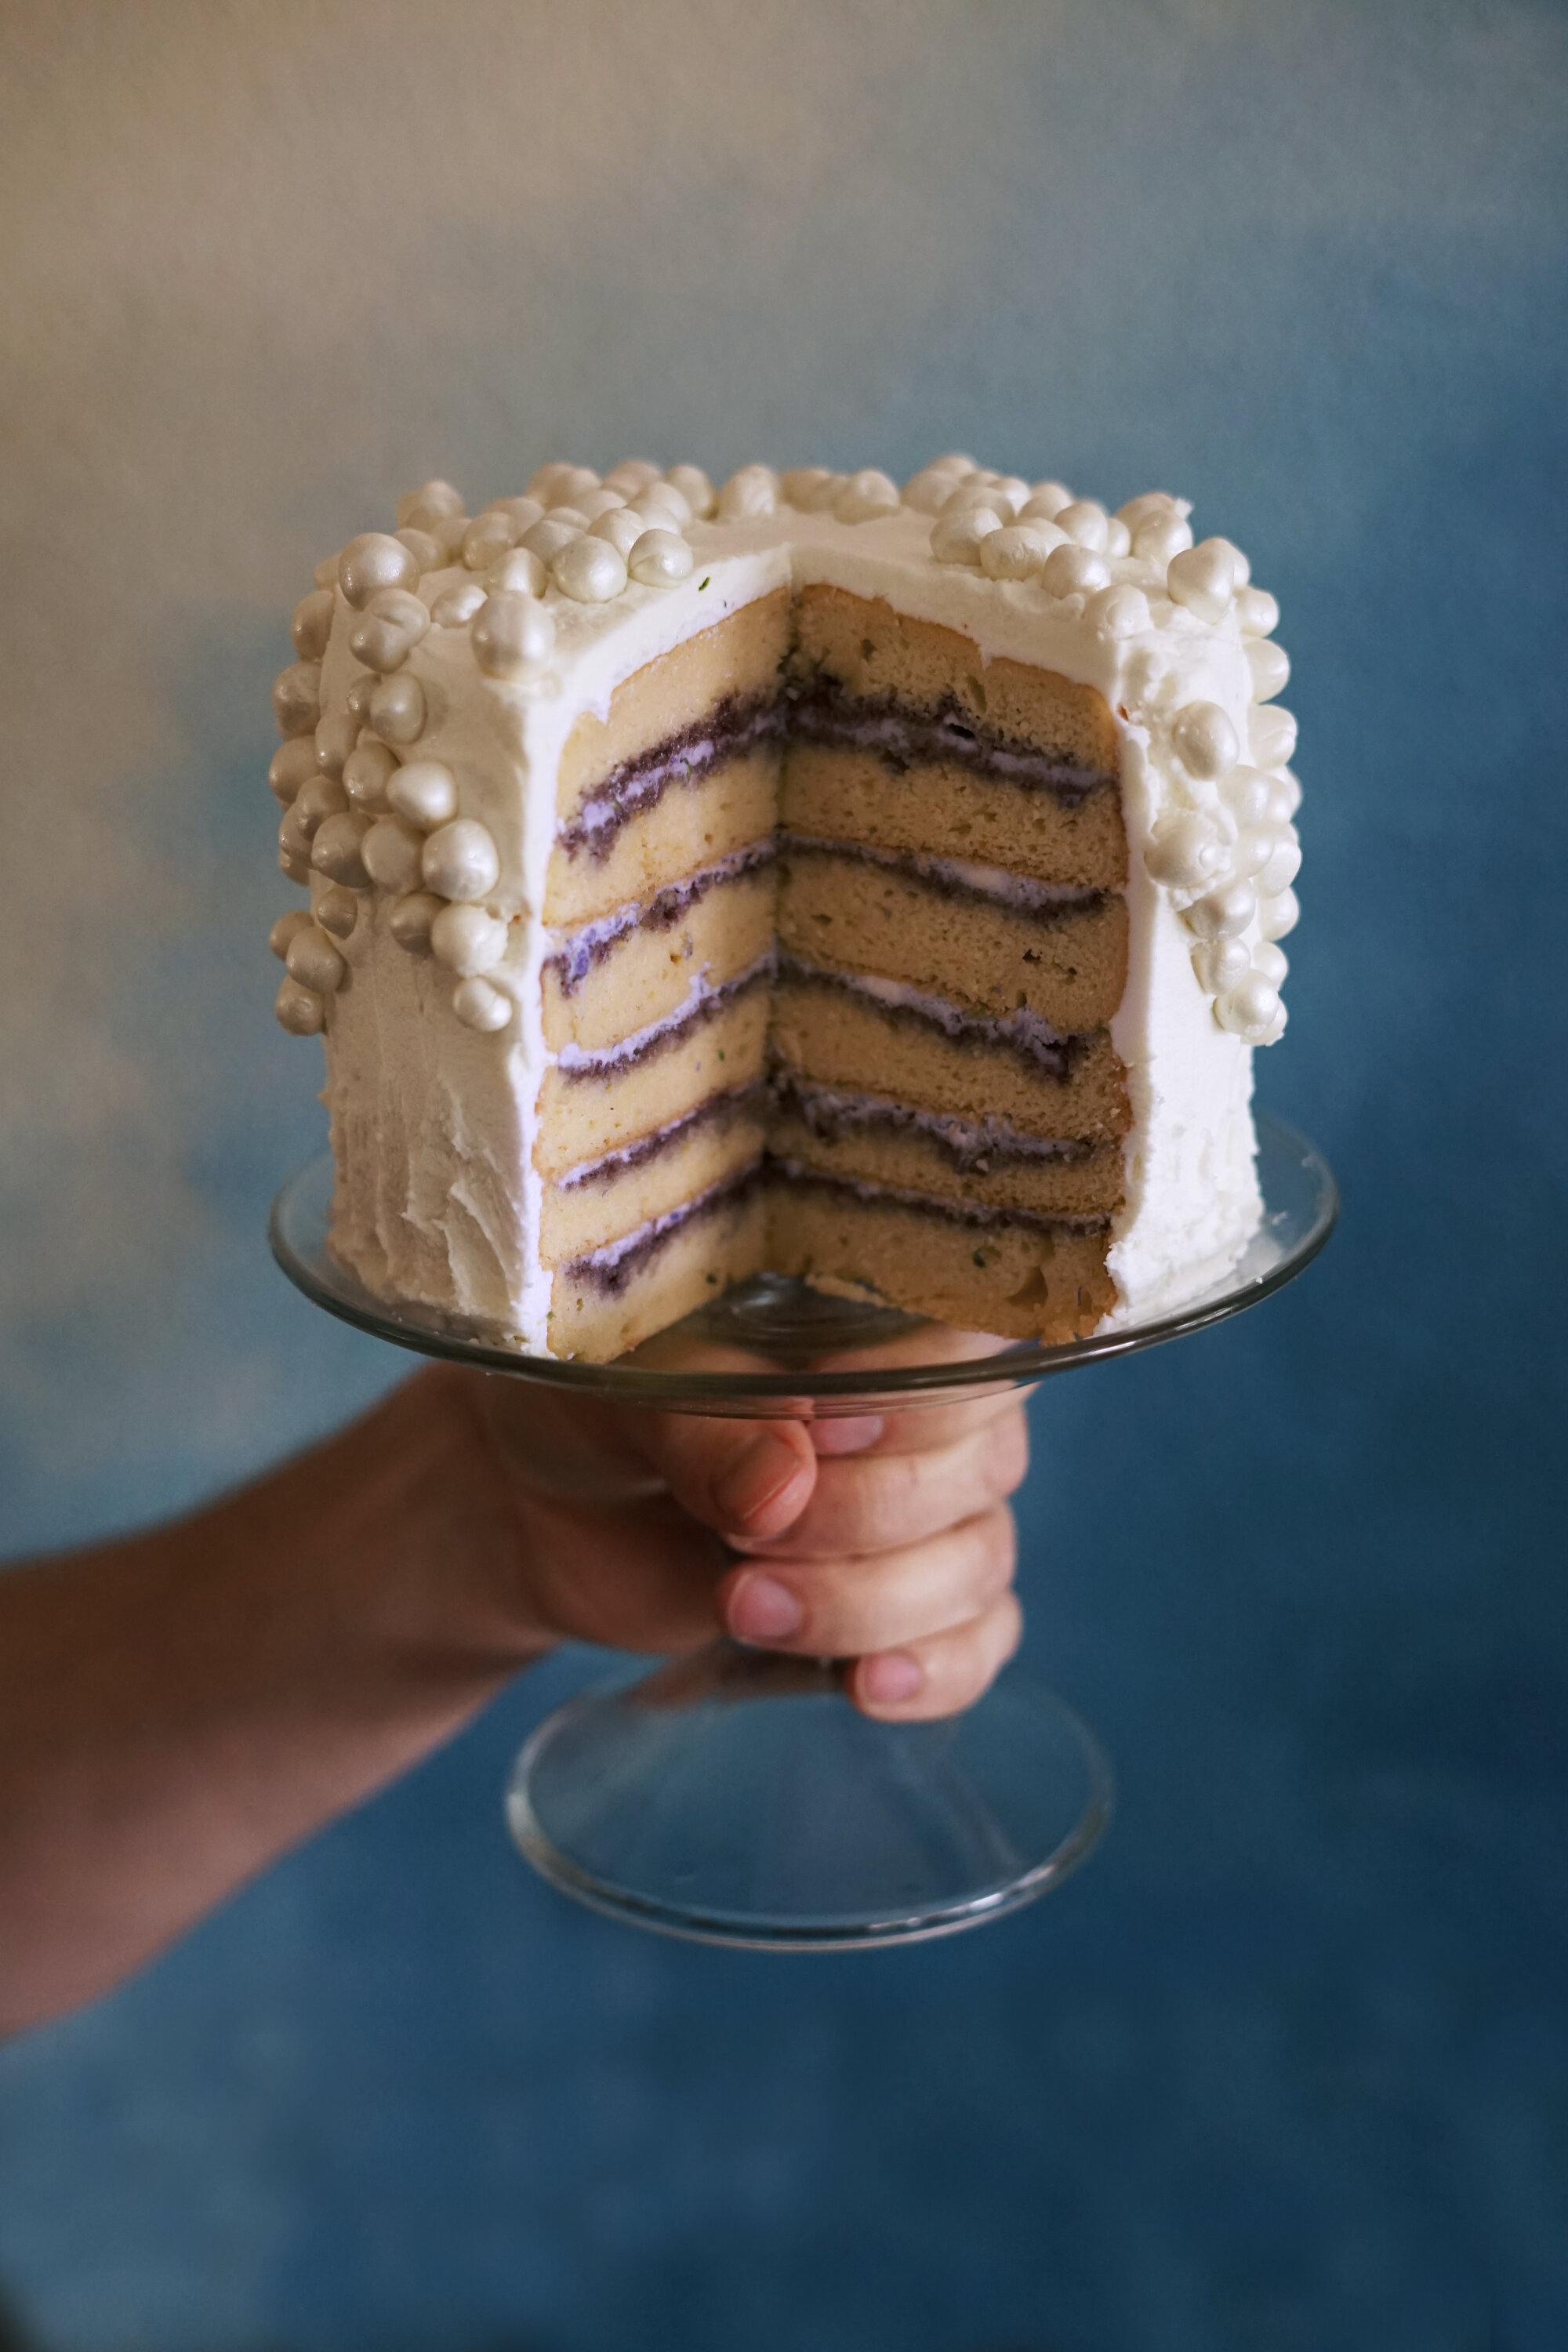
I think you will love this pearl-adorned cake, which is as delicious as it is elegant. I was inspired by the natural beauty of freshwater pearls, their imperfections making them far more interesting to me than the perfect spheres that are priced more expensively. They drape the cake with simple elegance and sophistication. Inside you’ll find layers upon layers of soft cakes fragrant with vanilla and a little hint of cognac, sandwiching huckleberry jam and a creamy coconut and wild violet filling. A slice of a pristine white exterior reveals punchy layers of purple and lavender. Its delightful wild violet filling isn’t the only secret this cake holds, however…
You wouldn’t believe it upon tasting this delicious dessert, but I have to tell you: this cake is made mostly of beans. Yes, beans. As in the cans that hide in the back of everyone’s cupboards, the beans that are still available during a global pandemic, the beans that cost pennies per serving.
I’m developing this recipe during the global coronavirus pandemic. With so many people staying home in isolation, there has been a rather drastic upsurge in baking world-wide, which also means shortages of flour and yeast. I love that people are engaging with their food in a deeper way now and I think that this return to a feeling of self-sufficiency is a beautiful thing. But what’s a host to do when they want to make an elegant cake for a very special occasion and the supermarket shelves are barren of baking supplies? I turned to history for ideas. I read through pages and pages of recipes from The Great Depression and WWII and soon discovered that modernizing these recipes wasn’t the right path. Flour was actually relatively inexpensive and easy to come by during the Depression, so almost all of the recipes I found from that era use flour in just about everything. During WWII, the recipes are similar, with a heavy reliance on the “Victory Gardens” that families planted to supplement their diets during a time of great rationing. (Speaking of, this would be a great year to start your own garden if you are able!) What are we missing this time around? Toilet paper, for some bizarre reason. Flour, because everybody is baking. Yeast, because a lot of those bakers are making bread. What do we have a lot of? Beans.
Yep, you heard me right. Beans. Turns out, you can make a silky and moist cake using primarily canned white beans! This recipe does take a bit of flour, but it’ll stretch your stores of flour much longer than a more traditional cake would. Plus: you don’t need to use regular all-purpose baking flour. You can substitute rice flour, finely-ground almond flour, gluten-free flour mixes, coconut flour, and more. The texture of the cake is as tender, soft, and delicious as you’d expect from a more traditional cake, plus it’s filled with protein and healthy fiber - as much a wholesome snack as a luxurious dessert worth of a fairy! Paired with huckleberry jam (or whatever half-empty jar of jam is lurking in your own fridge), a hint of cognac (or rum, or amaretto, or whatever is gathering dust in your liquor cabinet), and fresh spring violets, this cake is a special treat indeed. You won’t be able to taste its more humble origins, and neither will any of the lucky people in isolation with you.

While many of my recipes require specialized ingredients and long processes, this one proves that you can still make something remarkable for practically pennies, and everything but the eggs is shelf-stable so you can bake it any time you get that craving for a bit of kitchen magic. While we’re on the subject of being prepared, here’s a tip: I always keep a can of full-fat coconut milk in my fridge to whip up into a fluffy filling whenever I want. You’ll thank me later.

Marshmallow Fondant Pearls:
So, I know that not everyone happens to have a bottle of edible luster dust in their pantry. Forgive me, I couldn’t help myself from following the pearl idea once I established that I do have luster dust! That said, making your own fondant for decorations is incredibly simple - you just need a few marshmallows and some powdered sugar - and I’m sure you’ll come up with your own wonderful creative ideas to create decorations for your cake! Marshmallow fondant is MUCH more delicious than the store-bought variety and, in my experience, just as versatile. Mix up the fondant before you start in on baking your cakes so that it can rest for 20 minutes or more before you begin shaping it.
Ingredients:
12 marshmallows (it’s okay if they’re a bit stale)
1 tsp. liquid of choice (I used cognac)
1 ½ - 2 c. powdered sugar
Small bottle edible white luster dust, if possible
Directions:
Place the marshmallows in a microwave-safe bowl with the liquid. Cook for one minute, or until the marshmallows are melted and frothy. Add 1 cup of powdered sugar and mix well. Add another half cup and keep mixing. Once it is too difficult to mix the powdered sugar in with a spoon, grease your hands and dive in. Continue kneading and adding more powdered sugar, a little at a time, until you have a stiff but smooth dough. Make sure you can pinch off a bit and roll it into a ball that keeps its shape. Once your fondant is mixed, place it in an airtight container and let it rest for at least 20 minutes while you prepare your cake.
After the cakes are in the oven and your fondant has rested, start rolling it into small balls of varying sizes and dropping them onto a piece of parchment paper sprinkled with luster dust. Roll to coat them completely. When you’re rolling the balls, don’t worry too much about perfection - after all, irregular natural pearls are the inspiration behind this decoration! The finished pearls can sit out at room temperature until you’re ready to decorate the cake.

I’m Bean Sneaky Cake Yes it’s a terrible pun and no, I’m not sorry ;) I couldn’t believe just how delicious this cake was, especially considering the strong bean scent that accompanied the batter into the oven. Some kind of magical transformation happened in there, and these cakes came out tender, soft, and delicious. I didn’t invent this crazy idea on my own, though. I was inspired by this creativity and loosely based the recipe below on this awesome recipe. This is not an overly-sweet cake, so it’s perfect with the frosting below!
Ingredients:
3 cups large white beans cooked or canned (Two 15oz cans should be enough for this recipe)
5 eggs
1 Tbs. vanilla extract
1 Tbs. cognac
2 tsp. Almond extract
1/3 c. melted coconut oil or vegetable oil
1 c. sugar or honey
3 tsp. Baking powder
¾ tsp. Fine sea salt
¾ c. rice flour, almond flour, or all-purpose flour (see other suggestions above)
Directions:
Preheat the oven to 350F and grease and flour three small 5” cake pans. Cut a baknig parchment circle to fit in the bottom and grease and flour that too.
If you’re using canned beans, strain them rinse well. (Tip: you can save the strained liquid to use as an egg substitute for vegan meringues! Just look up recipes for “aquafaba.”) Add the beans to a food processor along with the vanilla, cognac, and almond extract and mix until very smooth, pausing to scrape down the sides as needed.
Add the eggs and blend well until completely smooth.
Add the sugar and oil and blend until smooth. Finally, sift in the baking powder, salt, and flour of choice. Pulse until combined.
Divide the batter into three equal portions and pour it into your cake pans. Bake for 30-35 minutes or until it the cake gently springs back when touched and a toothpick inserted in the center comes out clean.
Allow to cool in the pans for 20 minutes, then remove the cakes from the pans and cool on a cooling rack.
Jam and Violet Cake Fillings:
Ingredients:
¾ c. jam of choice (I used huckleberry)
¼ c. water
1 can of full fat coconut milk that has been refrigerated at least overnight
Pinch salt
⅓ c. powdered sugar
½ c. fresh violets
Directions:
Put the jam and water into a small saucepan over high heat. Bring to a boil, then reduce to a simmer and cook, stirring frequently, for five minutes. Set aside and allow to cool for 15 minutes.
Meanwhile, cut each cake into two even layers and place them cut-side-up on a clean counter. You should have six layers. Keep them covered while you wait for the jam mixture to cool.
Spread an even layer of soft jam on the cut side of five cake slices. Cover the last one with a cloth or bit of plastic wrap to keep it moist.
Open the can of coconut milk and scoop the solids off the top. Measure a cup of solid coconut cream and add it to the bowl of a stand mixer. Beat it until it is fluffy and holding peaks. Add the salt and the sugar and mix to combine. Chop the wild violets up very finely and gently fold them into the mixture.
Spread the coconut filling on top of the jam on the same five cake layers. Then, stack the cake as evenly and straightly as possible. Put the un-filled layer on top, cut side down. Cover and refrigerate until you are ready to start frosting the cake.

Easy Buttercream and Decorations:
This buttercream recipe calls for either vegetable shortening or butter, both at room temperature. I usually have shortening on hand and find that it makes a whiter frosting, but butter is definitely the more flavorful option. You’ll need a good supply of powdered sugar to make this frosting. If you don’t have any, this cake is also beautiful presented un-frosted, or you can make some extra whipped coconut cream to ice the outsides with instead (as long as you plan to serve it immediately and are’t using the fondant pearls as decoration.)
Ingredients:
1 c. vegetable shortening or unsalted butter, at room temp
3 c. sifted powdered sugar
2 tsp. Almond extract
Pinch of salt
3-5 Tbs. milk of choice, at room temperature
Directions:
Cream the shortening in the bowl of a stand mixer or by using a hand mixer for five minutes. It should be extra creamy!
Add the powdered sugar, one cup at a time, mixing well and scraping down the sides of the bowl after each addition.
Add the almond extract and salt.
Add the milk, 1 Tbs. at a time, until the frosting reaches the consistency you are looking for. It should be soft and smooth and easy to pipe or spread on the cake.
Pull the cake out of the fridge and apply a “crumb coat,” a thin layer of frosting to fill in any big gaps and make a smooth surface for the rest of the frosting. Let chill in the fridge for at least 20 mintues while you cover the bowl of frosting.
Frost the cake entirely, using a straight spatula or a bench scraper to smooth the sides as much as possible. Apply the pearls in a pleasing pattern and you are ready to go!
***Note: developing this cake inspired one of my Bunker Games challenges for Patrons at the $10 level or more. This is a series of fun and creative challenges to focus on during isolation, plus the eventual winner will get a beautiful handmade necklace as their trophy! It's not too late to join the fun - you can learn more at this link: https://www.patreon.com/posts/35433215
Love what you’ve read here? Don’t forget to Subscribe to get frequent updates of new posts!
Huge thanks to my Patrons that make sharing all of these lovely posts with you possible (without all of the pop-ups and ads that make browsing other blogs so annoying). If you’re feeling generous, you too can support the wonder with a monthly contribution of your choice. Even $1 helps a lot! Your donation will help to fund this blog as well as my surprise free events and gifts for strangers. Learn more about this program at the link below:


Join me for a little winter night magic as we bake this cake full of rich seasonal flavors and black cocoa!