
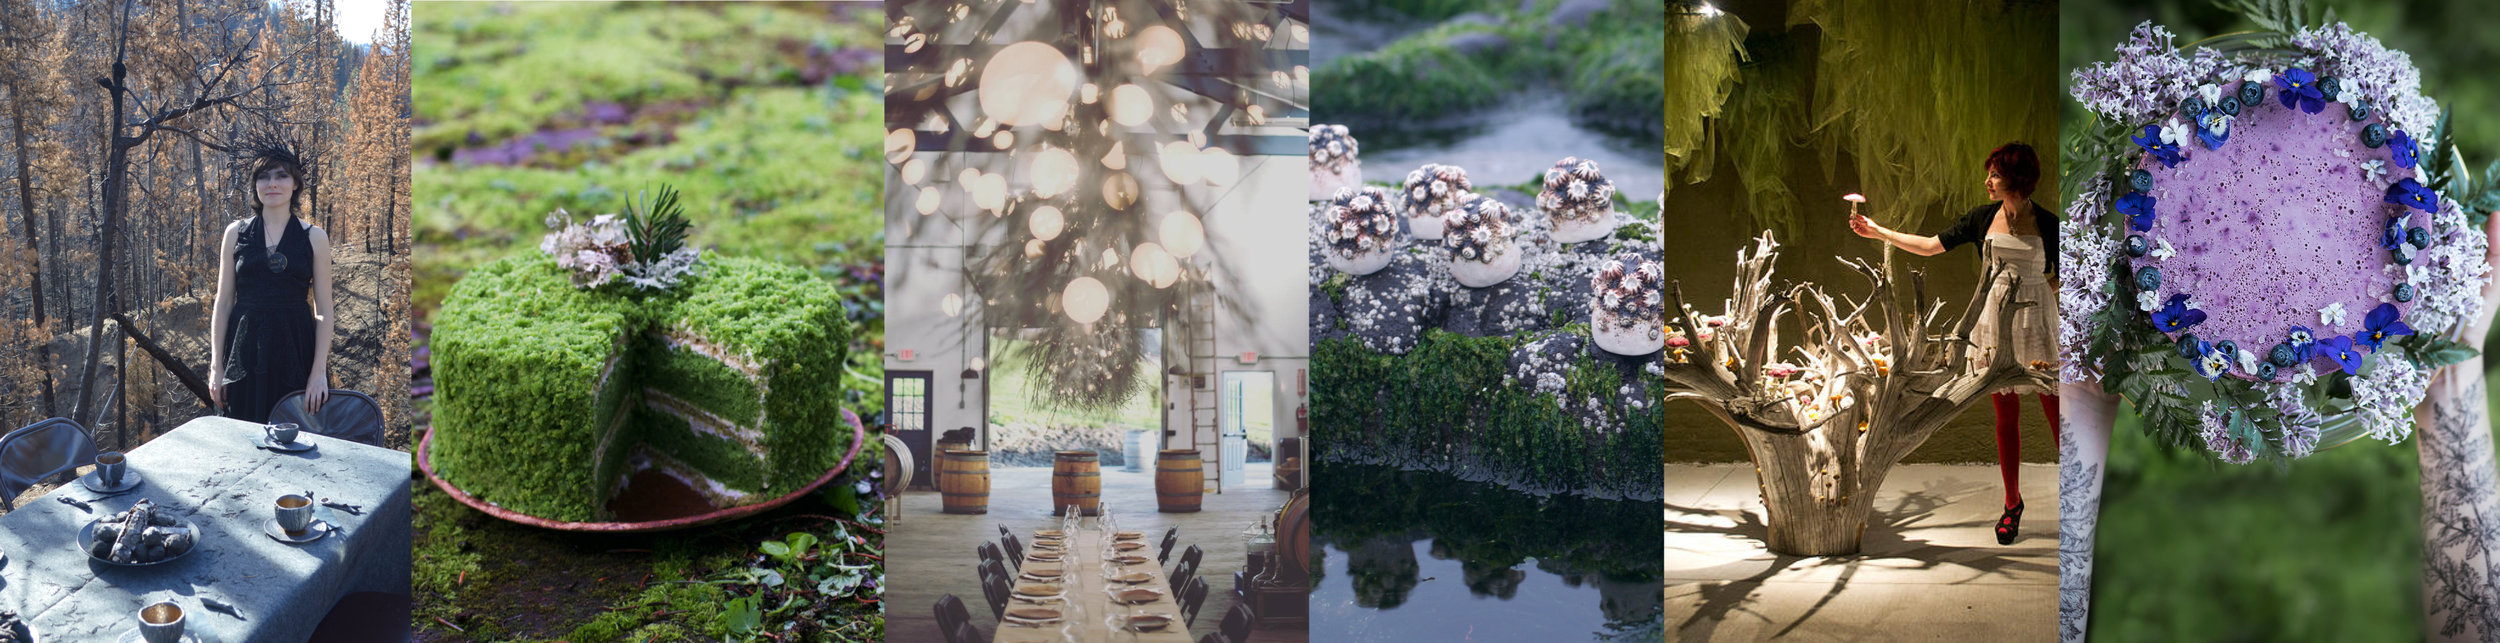


Jack Frost's Iridescent Chocolate Bark
New to foraging? Learn more about ethical and safe foraging (plus how to get started) here!
When I wake up on a wintery morning and see the fractal-like patterns of swirling crystals or sharp-edged diamonds that have formed on my window or car windshield overnight, I am always filled with wonder. What perfect and dynamic formations! I love envisioning a mythical Jack Frost darting around on a dark winter night, embellishing the world with his more artistic expressions. What a turbulent soul he must be, conjuring up raging blizzards and rosehip-sized hail, then creating such delicate masterpieces and intricate snowflakes to marvel at just a day or two later. I would imagine that when Jack Frost falls in love, he falls hard. And if he were to make something special for the one he wants to impress, these are what he’d make.
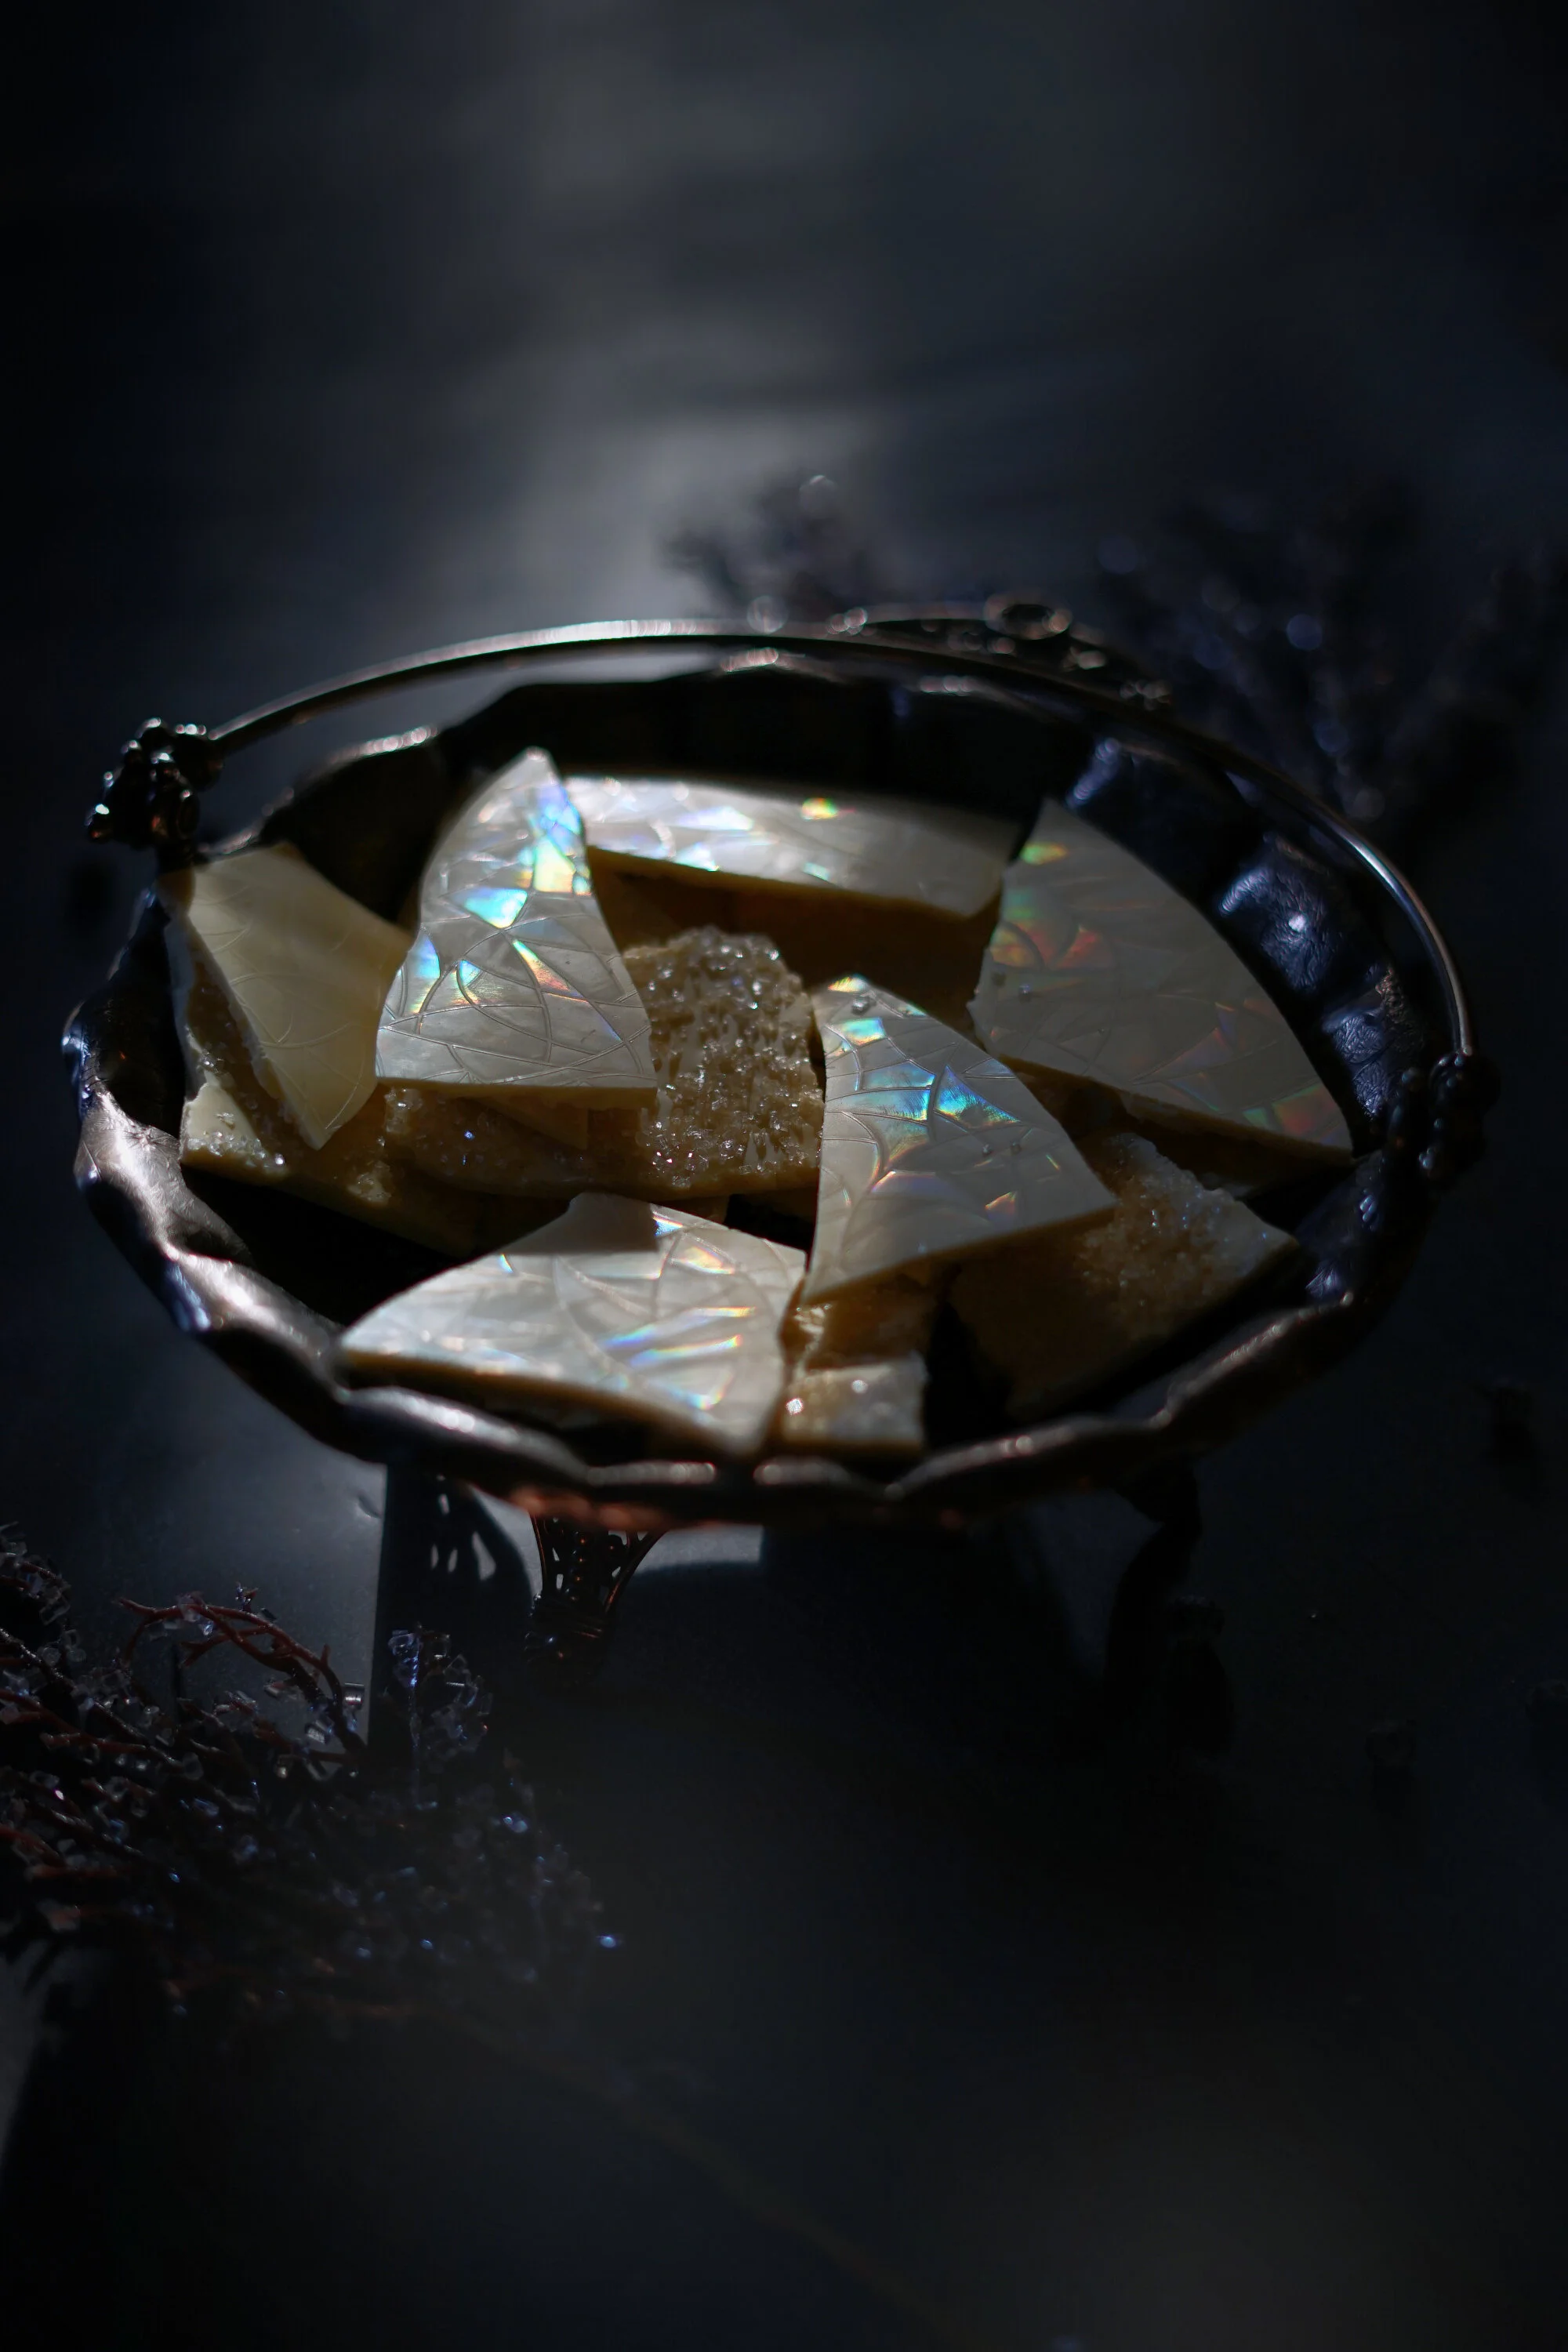
Perfectly crisp white chocolate topped with wintery flavors, with a little magic thrown in to make it extra special. One side sparkles with the flavors of cold woods, juniper and spruce-infused sugar and small pinches of flaky sea salt. But it’s the other side of the chocolate that’s the real surprise: these opal-like gems shimmer with iridescence, perfect little snow jewels! It’s as if little fragments of the Northern Lights are dancing across the surface. This effect is not created with the additions of luster powders or paint; they are formed in the chocolate itself. Iridescence in nature is really just a specific texture in the structure of something, whether it’s the tiny scales on a butterfly wing or the thin-weathered ancient glass that has developed an iridescent patina over the centuries of slow decay. Who knew that chocolate itself could pick up on such detailed patterns? And who knew you could create iridescent chocolate yourself, at home!? (My friend Anne did, and I am so grateful to her for sharing the idea with me!) The secret tool here is to use an iridescent screen as a mold. I happened to have a few leftover scraps of a patterned window coating I put up in the bathroom window for privacy. You want something that can be cleaned to be food safe.

The second trick is getting a really good temper on your chocolate. “Tempering chocolate” is a way of aligning the molecules in the mixture to settle into an organized pattern, giving a good gloss and snap to chocolate. (Unless your bar has been melted and re-cooled, most chocolate bars purchased at the store come to you tempered.) This is achieved by heating the chocolate to a specific temperature, cooling it down to another, then heating it up to the working temperature. It can be a tricky process to master, but as long as you have an accurate thermometer, it’s totally do-able! Chocolate must be properly tempered to pick up the details that allow for that beautiful iridescence. This recipe uses real white chocolate, not the ‘candy melts’ filled with all kinds of weird oils and additives. Purchase high quality couverture white chocolate to work with and have everything prepped ahead of time.
*tips for success: be very careful not to get any moisture into your chocolate, since water can cause it to seize up and you won’t be able to fix it. You also need to be really accurate with your temperatures and keep a close eye on that thermometer! (This handy spatula has a thermometer built right in, making the process much easier and cleaner!) If your first attempt doesn’t temper properly, just let your chocolate harden and start the process over, using new chocolate to “seed” the melted mixture (step 2, below.) Also, the specific temperatures for white chocolate can vary, based on the brand you use. I got the specific temperatures directly from Valrhona’s website.) This is a process of exact measures and attention to detail, not unlike Jack Frost’s painted artistry. Once you master it, you’ll see what all the fuss with tempering chocolate is about ;)

Jack Frost’s Winter Gems:
Ingredients:
1 lbs. Quality white chocolate (I used Valrhona)
¼ c. cocoa butter, chopped
1 c. sparkling sanding sugar
1 Tbs. juniper berries or a small sprig of juniper
1 clean and dried spruce branch
1 vanilla bean
1 tsp. Very flaky sea salt
Small sheet of iridescent film
Directions:
Place the juniper berries and/or sprig, spruce branch, and vanilla bean into a clean pint jar. Pour in sparkling sugar to cover. Screw on the lid and let sit for several days to a week, shaking often. Once the sugar is fragrant, it’s ready to use. Pour some into a bowl for easy access as you create these edible gems.
Prepare your setting: cut a large piece of iridescent film to fit inside a cookie tray. Tape down the edges to make sure it is flat. Now it’s time to temper your chocolate. You’ll need an accurate thermometer, rubber spatula, glass bowl, pot that’s small enough that the bowl sits close to the top, and a dish towel.
Roughly chop your white chocolate if it’s not already in chunks. Place 3/4ths of it into the glass bowl and set the rest aside. Bring a small pot of water to a boil, then remove it from the heat and set a clean dish towel over the top. Set the bowl of chocolate on top and start stirring gently, monitoring the temperature. When it reaches 113-122F, quickly remove the bowl from the pot while wearing protective gloves- the bowl and the steam under it will be hot.
Add a few pieces of the cocoa butter. Stir gently. As those pieces melt, add a few more. After you’re out of cocoa butter, continue the process with the white chocolate you reserved. Once the chocolate you add has stopped melting or the temperature has gone down to 79F, stop adding the pieces and fish out any undissolved lumps.
Next, you’ll need to heat that chocolate back up to 82F very carefully. The easiest way to do this is to place the bowl back over the warm water, slowly stirring and checking the temperature often. Be careful: it heats back up to 82F very quickly and you don’t want to go over. (I recommend removing it from the heat at 81 since the heat in the bowl will cause the temperature to rise slightly after you remove it.)
To check and see if your chocolate is tempered properly, dip a spoon into it and let it sit out at room temperature for about 5 minutes. It should harden quickly and appear shiny and hard. If so, you are ready to form your treats! If it stays sticky or streaky, you’ll need to let your chocolate set up and re-temper it.
As you work, keep monitoring the temperature of the chocolate. When it drops below 80F, place it back over the warm water for a few seconds, then stir. You want to keep it just under or at 82F but do not go over!
Pour the tempered chocolate onto the iridescent sheet and spread it out as evenly as possible, keeping it away from the edges of the sheet. Carefully slam the tray down a few times so the chocolate sinks into the pattern of the sheet. Sprinkle it evenly with the sparkling sugar and flaky salt before it hardens. Allow it to cool and harden at room temperature, then stick it in the fridge for 20 minutes or so.
Remove the tape at the edges and gently transfer your chocolate to a tray with the film side up. Very carefully, peel off the iridescent sheet to reveal your shimmering opal chocolate. Chop or break the bark into shards and enjoy!
Note: As an Amazon Associate I earn from qualifying purchases on some linked items. All are items that I use myself and would recommend to others, and this service is provided at no extra cost to you! Read more about this program here.
Love what you’ve read here? Don’t forget to Subscribe to get frequent updates of new posts!
Huge thanks to my Patrons that make sharing all of these lovely posts with you possible (without all of the pop-ups and ads that make browsing other blogs so annoying). If you’re feeling generous, you too can support the wonder with a monthly contribution of your choice. Even $1 helps a lot! Your donation will help to fund this blog as well as my surprise free events and gifts for strangers. Learn more about this program at the link below:


Join me for a little winter night magic as we bake this cake full of rich seasonal flavors and black cocoa!