


Black Walnuts and Insect Trails: A Comfort Food Dessert for the Curious

Have you ever peeled back the bark on a log only to reveal an intricate pattern of insect trails beneath its protective cover? The lines are often beautiful and expressive, something one might rush to put down in a painting class. Those sticks always feel extra special to me because they remind me just how much life surrounds me on a smaller scale than I always notice - the insects leaving those beautiful trails, the decomposers beneath my feet, even the bacteria that inhabits my own body. Looking at the handiwork of insects makes me feel at once both immense and tiny. Dwarfed by the yellow sun in the distance, my existence is barely a moment in the timeline of our planet. My life is dwarfed by the trees who watch over us, who see families grow up beneath their branches, then a new family to start over again. And yet, in this tenuous moment of being simultaneously small, fast, large, slow, I realize how infinitely fascinating the microcosm can truly be.
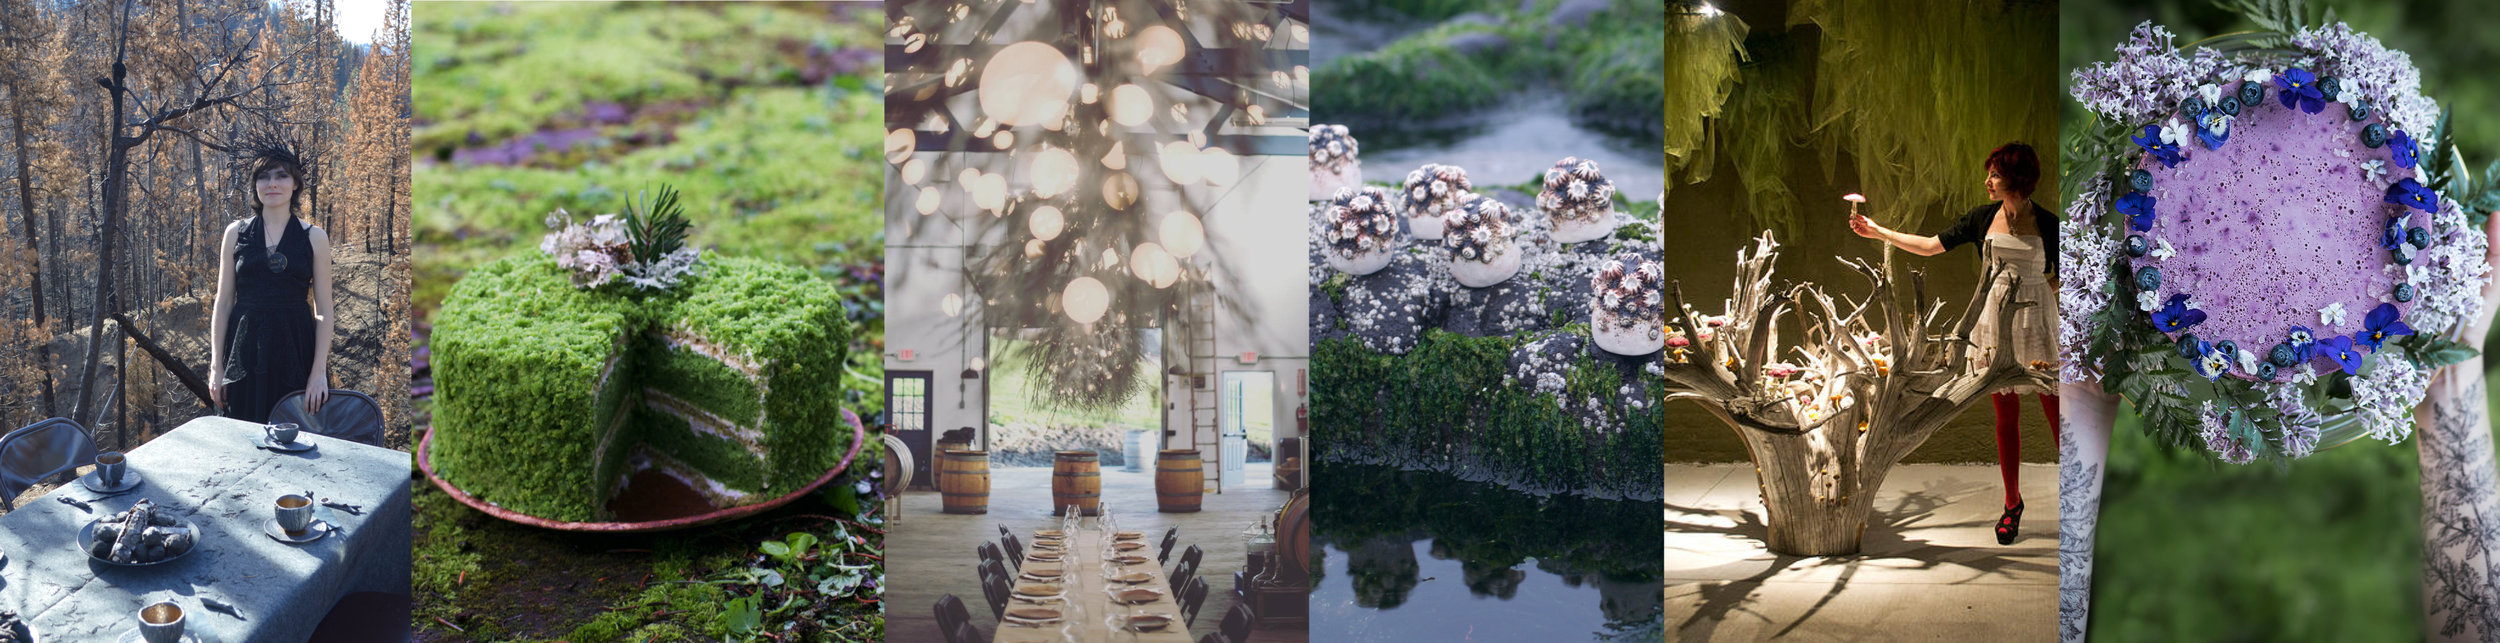
This dessert is in honor of that experience of taking the time to look a little bit closer. It’s an Asian cake known as “honeycomb cake” for its unique texture, perfect for soaking up rich squash ice cream. The texture of this cake is chewy, a bit like mochi or tapioca pudding (as are many Asian desserts.) I believe calling it a cake is a disservice as it has very little in common with the fluffy textures we tend to associate with cake in the West. Perhaps “edible sponge” would be more apt? Like sap flowing through insect trails, the cake soaks up the flavorful ice cream I’ve paired it with for a textural and refreshing late summer treat.
The dominant flavor in that delicious ice cream is candied black walnuts, which remind me of the little chunks of sap that fall off wounded trees. Black walnuts have a distinct and funky flavor that is both earthy and umami-rich, which I think plays really well with the comfort of squash and light spices. You can substitute in pecans or regular walnuts for a little milder exploration into flavor.

Candied Black Walnuts:
These crunchy treats add texture and flavor to the creaminess of the ice cream. They’re quite easy to whip up ahead of time to add in later.
Ingredients:
1 c. black walnut chunks
¾ c. white sugar
2 Tbs. butter
Directions:
Mix the ingredients together in a frying pan over medium heat. Stir frequently until the sugar has dissolved and melted into a caramel that is coating the nuts.
Working quickly, spread the walnuts out on a non-stick surface and allow to cool. Break up as needed into smaller chunks.

Kabocha or Acorn Squash Ice Cream
There’s something really comforting about a custard made from the first squash of the season. But the hot days of summer haven’t quite left, making this the perfect recipe for a late summer afternoon.
Ingredients:
2 c. heavy cream (or coconut milk)
1 acorn squash
½ c. maple syrup
1 tsp. Vanilla
¼ tsp turmeric
½ tsp. Dried ginger
¼ tsp freshly grated nutmeg
½ tsp. Salt.
2 eggs
Directions:
Cut your squash open and scrape out the seeds and strings. Cut into 1” chunks, discarding the shell.
Bring a pot of water to boil and add a pinch of salt, plus the squash. Boil until the squash is very tender when pierced with a fork, 12-15 minutes.
Drain the squash and puree it. You’ll need 2 c. of the puree for this ice cream.
Add the squash puree, heavy cream, maple syrup, and spices In a blender and blend until smooth.
Whisk the eggs in a separate bowl. Add the squash mixture to a heavy-bottome saucepan and cook just until bubbles are forming around the edge. Very slowly, drizzle 1 c. of the mixture into the eggs while beating constantly. Continue with the rest of the mixture. Transfer it all back into the saucepan.
Cook the mixture over low heat until it thickens to a custard-like texture. Let cool to room temperature, then refridgerate for at least 2 hours or overnight.
Process the mixture into ice cream following the directions of your ice cream maker.
At the end, mix in the candied walnuts with a wooden spoon. Freeze until hard, then scoop individual scoops to serve with the cake.

Honeycomb Cake
This recipe is based on the Vietnamese cake Banh Bo Nuong. I knew that as soon as I saw a picture of its unique texture I had to try it! It’s quite unlike the definition of ‘cake’ we tend to have in the West, so don’t let that fool you - this airy cake has an unusual but pleasant chewy sponge-like texture. Ever more notable is that it has all of these beautiful little burrowed patterns in the cake itself that remind me of those insect-trailed sticks. These holes and chasms make the perfect vehicle to soak up the goodness of maple syrup or melting ice cream.
Like Angel Food Cake, it’s best to allow this cake to cool upside-down to keep it from deflating. Make sure to rig up something that can hold the pan upside-down before you take the cake out of the oven. Use a non-stick cake tin but do not grease and flour it like you would with a normal cake. Also, make sure you use a normal cake pan for this recipe, not a springform pan. ( I learned the hard way that the batter is too thin not to come drizzling out of the edges of the pan!)
Ingredients:
1 c. coconut cream
¼ tsp. Salt
1 tsp. Vanilla extract
¾ c. sugar
1 Tbs. canola oil
5 large eggs, at room temperature
1 ¾ c. tapioca flour
1 Tbs. rice flour
½ tsp. Ginger
Pinch turmeric
2 tsp. Cream of tartar
1 tsp. Baking soda
Directions:
Preheat the oven to 350F. Place one 8” round cake tin in the oven to heat as you prepare the batter.
In a small saucepan, heat the coconut cream, salt, and sugar. Cook over low heat until the sugar has dissolved, stirring constantly. Add the canola oil and remove from heat. Let cool to room temperature.
Meanwhile, crack the eggs into a large mixing bowl. Using a clean pair of kitchen shears, cut the egg yolks into small pieces (at this point you want to avoid trapping any air bubbles in the egg mixture.) Add the coconut milk mixture and stir slowly to combine.
In a separate bowl, whisk together the tapioca flour and rice flour. Sift half of the mixture into the batter while gently whisking (keep the whisk touching the bottom of the bowl.) Once it is combined, sift in the remaining flour mixture and continue to whisk for another minute or so. The mixture should be smooth and lump free by now.
Sift in the cream of tartar and baking soda and mix for just 30 seconds.
Take the hot tin out of the oven and place it on a hot mat. Press the cake batter through a sieve and into the hot cake tin.
Wearing oven mits, drop the cake tin from a height of 1” onto the work surface a couple of times to get air bubbles out.
Bake the cake for 40 minutes. Meanwhile, set up your cooling station: prop a cooling rack up on 3 identical glasses to make a level surface.
After 40 minutes, take the cake out of the oven and immediately place it upside-down on the cooling rack.
Let cool for 40-45 minutes, then remove the cake from the tin and serve.
Love what you’ve read here? Don’t forget to Subscribe to get frequent updates of new posts!
Huge thanks to my Patrons that make sharing all of these lovely posts with you possible (without all of the pop-ups and ads that make browsing other blogs so annoying). If you’re feeling generous, you too can support the wonder with a monthly contribution of your choice. Even $1 helps a lot! Your donation will help to fund this blog as well as my surprise free events and gifts for strangers. Learn more about this program at the link below:

New to foraging? Learn more about ethical and safe foraging (plus how to get started) here!

Join me for a little winter night magic as we bake this cake full of rich seasonal flavors and black cocoa!